
Overview
to your project. It's optimized for use with the Pixelblaze Pico LED
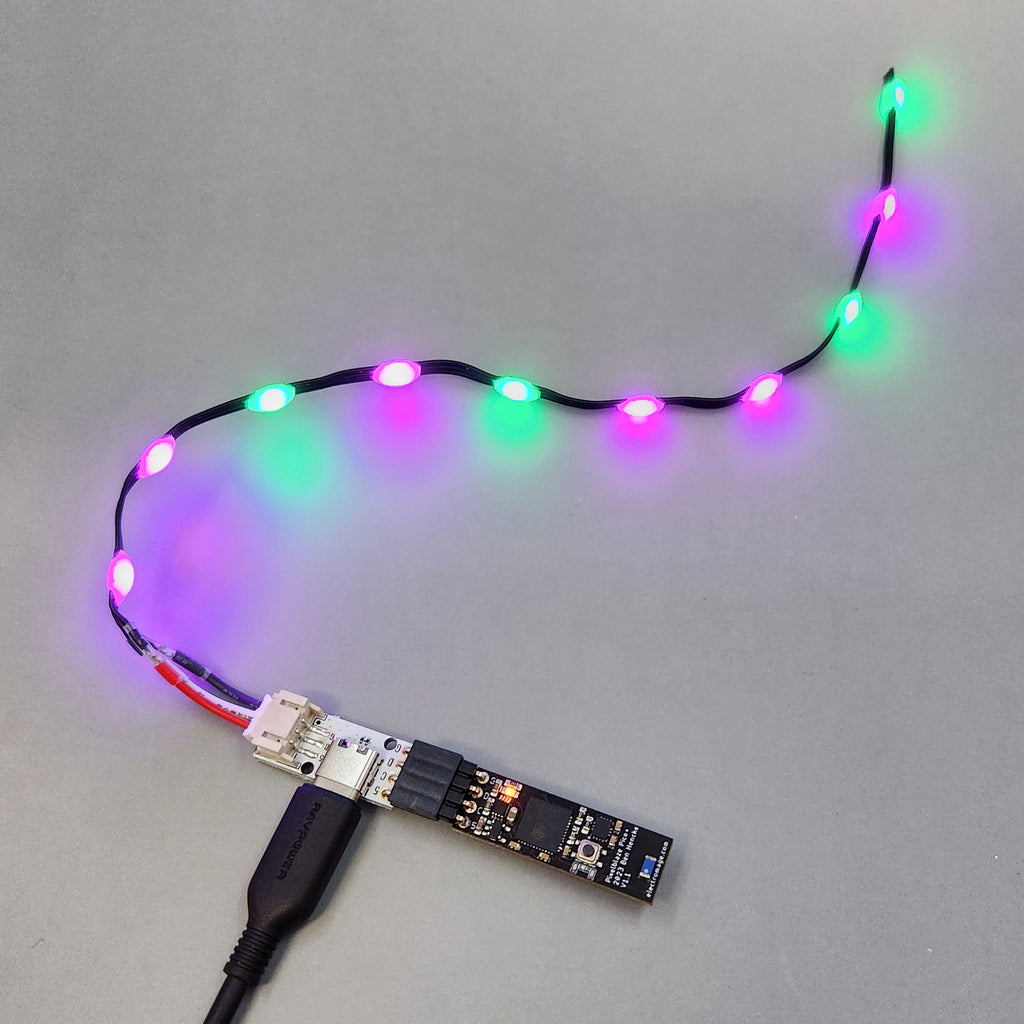
controller and Pebble-style LEDs, but can be used with any controller
and any 3-pin 5V addressable LED strip, strand, or PCB object!
These are especially nice to use in wearables, where you want a really small form factor, and to be able to swap out USB-C battery banks, or swap the controller between projects.
Controller Option 1 - Direct Soldering to a Pixelblaze Pico
This board can solder directly to the back of a Pixelblaze Pico to make a very compact form factor.
First, cover the back of the Pico with tape (we like kapton best for this) to insulate the exposed pads on the back of the Pico.
Next, solder the Pico and the Buddy together using the castellated edges.


Controller Option 2 - Connectorizing for a Pico or any LED Controller

Adding the LEDs


LEDs Option 1 - Direct Soldering a Pebble Strand


LEDs Option 2 - Connectorizing for Pebbles or Other Strips or PCBs
First, solder the included JST connector to the Buddy.
Next, solder the included JST pigtail cable to your LEDs. You can cut the cable and strip the wires if you need a shorter length. The cable will solder to Pebble strands 1:1, meaning no wires will be crossed if your Pebble strand is lens-side-up and the connector is oriented so it plugs straight into the Buddy. Also note that the 5V wire is marked on all Pebble strands we sell. However, you can also wire the pigtail to any addressable LED strip or PCB, just be sure to match up your 5V, Data, and GND signals to the connector.
Note that the typical flex circuit / tape-style strips do NOT have the same pinout as Pebbles, and you will NOT be able to solder them directly to the pads. You will need to wire them, keeping careful attention to match the signals.


Plug in a USB power source